
In continuation from my post last week about making a beaded bib necklace, I can now officially say I have finished it! And it only took me two days! I finished it in time to wear it to a friend's birthday party on Saturday night, and it stayed fully attached to my neck until the wee hours, so I think it was a successful project.
I'm really happy with the results and have already nearly finished another bib necklace. I've noted some alterations that I've made in the new version (mainly making it larger, and adjusting the spot where the ribbon is secured to the necklace so that it sits in a slightly different place).
I bounced over to the boyfriend with my finished necklace, and asked him what he thought. He appreciated my hard work but wasn't a fan of the necklace and said it was "too big"! "Too big indeed, I am making the next one much bigger!" I retorted. So there! :p
As I mentioned, I wore it to my friend's party that evening, and before I'd even gone through the front door, two people had stopped me asking where I'd bought it from. So it shows exactly how much I can trust a guy's opinion eh....Us girls need to stick together with our fashion choices!
So here's a little bit of a tutorial on how I made it.....
Supplies:
Scrap paper for template
Pen / marker for template
Gems, jewels, beads, pearls, sequins or whatever you want to decorate your bib with
Felt (colour of your choice)
Sewing needle
Pins
Coloured threads to match your embellishments
Ribbon
Hot glue gun
Material (which is what I used) or felt to back the necklace
Pen / marker for template
Gems, jewels, beads, pearls, sequins or whatever you want to decorate your bib with
Felt (colour of your choice)
Sewing needle
Pins
Coloured threads to match your embellishments
Ribbon
Hot glue gun
Material (which is what I used) or felt to back the necklace
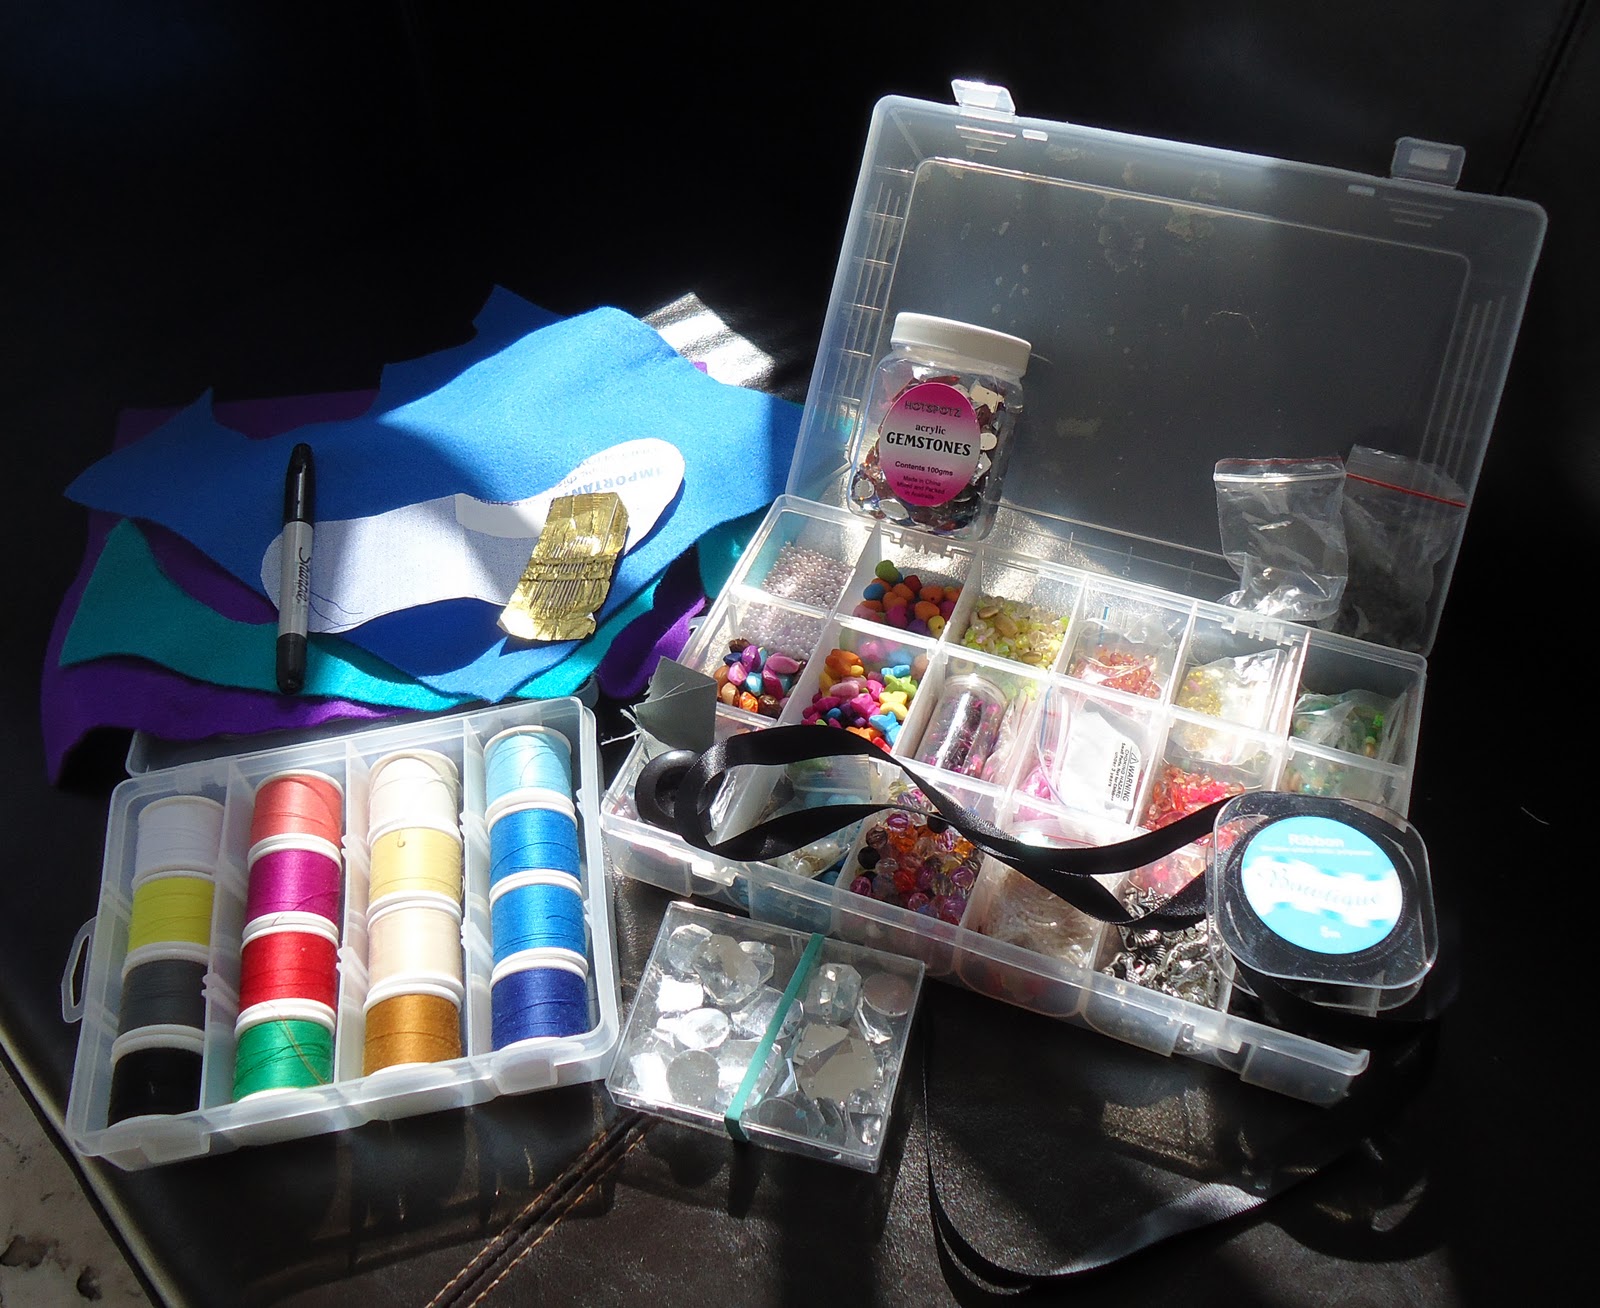 |
| Some of my supplies |
How I did it!
1. Firstly I sketched the shape and size bib necklace I wanted to make and cut out a template. I tried the template on to see if it was right. I then chose the colour felt I was going to use and cut that out using my template.
 |
| Try placing gems/beads on your templates before you start so that you can get an idea of where to sew them |
2. I chose what embellishments I wanted to use on my bib and laid them onto the template for a rough idea of how it would look. I used several larger gems, and then filled in the space around them with various other smaller gems, some sequins, a few pearls and other beads and sparkly bits. By laying them on the template, I did not have to remove them from the actual 'bib' whilst sewing other gems on.
 | |||||||||||
| Template with gem positioning |
 |
| When you have finished, it could look something like this! |
4. I decided to back my felt with fabric. I had an old blazer I'd bought from a thrift store for the buttons, and had kept it handy for scraps. I cut the sleeve off the blazer, washed it by hand (to remove the old thrift store smell!) and let it dry.
 |
| You can use any scrap material, or just another piece of felt |
5. I pinned the beaded bib to the sleeve and cut out around it, leaving approx. 1cm edging. You could do this carefully, but I wanted a bit of a "rough" finish, so my edging was purposely not perfect.


6. Next is the fun bit - using a hot glue gun! I glued the felt to the fabric backing.

7. Hold your bib up to your neck and work out where you should position the ribbon that will secure it. I marked these spots with pins.

I then measured approximately how much ribbon I would need to tie around my neck. I cut the ribbon longer rather than shorter as it is best to have too much rather than too little!
8. Glue the ribbon to the bib using the hot glue gun. I finished securing the ribbon by sewing it as well, just for extra strength.

9. And there you go - you've finished!
 |
| Ready for party time!! |

Please let me know if you make this version of a bib necklace, I'd love to hear about / see it! :)
I've linked this DIY tutorial up to these parties:
 dittledattle dittledattle | |
 Look at Me!

 Funky Junk Interiors
 craft eNVy
 I <3 naptime


eeeeeeeeeeeeeeeeeeeeeek CUTE
ReplyDeleteI think it's fabulous. LOVE it! Great job. Susan
ReplyDeleteGreat work Sadie! I really like it:D
ReplyDeleteLooks great! Definitely NOT too big! :)
ReplyDeleteThanks for linking to a Round Tuit!
Hope you have a great week!
Jill @ Creating my way to Success
http://www.jembellish.blogspot.com/
Great tutotorial! i like it very much, i will have it. THanks a lots
ReplyDelete